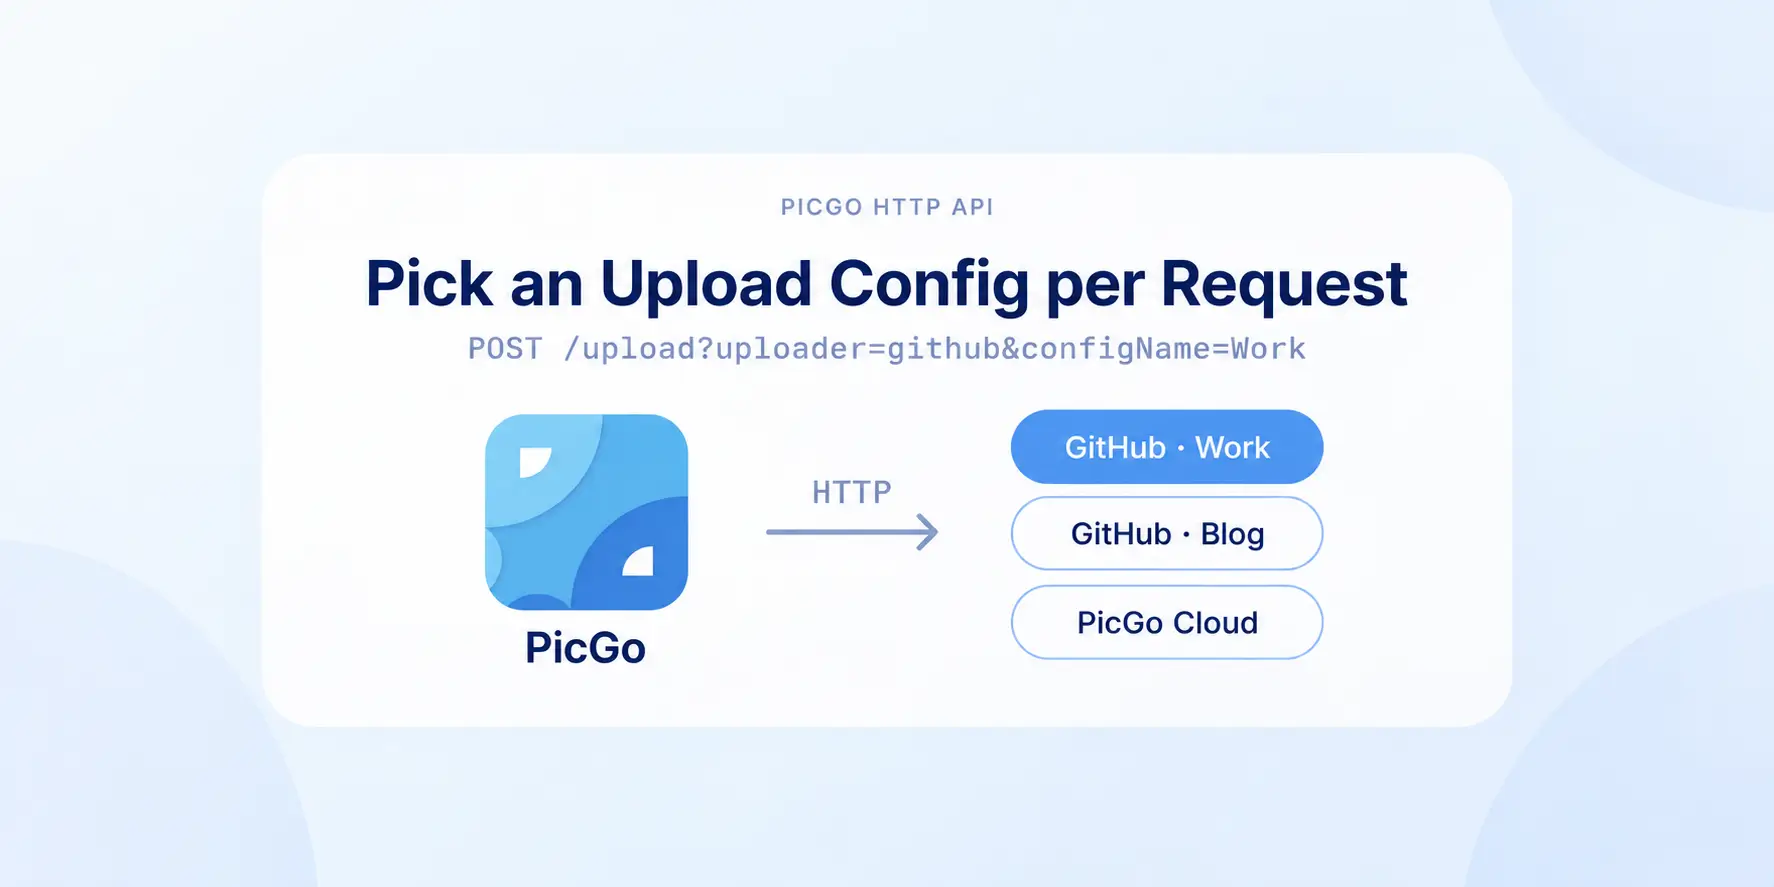
PicGo ships with a small built-in HTTP server, PicGo-Server, and plenty of editor plugins, scripts and automation tools upload images through it. It has always had one limitation, though: every upload went to your current default uploader. Say your screenshots go to a GitHub configuration called “Work” and you want blog images to go to another one called “Blog”. You had to switch the default in PicGo, upload, and switch back.
Starting with v3.0.3, that limitation is gone. You can name the saved configuration to use for each upload right in the request.
The short version: add query parameters to POST /upload.
# Upload to the GitHub configuration named "Work"
curl -X POST "http://127.0.0.1:36677/upload?uploader=github&configName=Work" \
  -H "Content-Type: application/json" \
  -d '{"list": ["/Users/molunerfinn/Desktop/photo.png"]}'
This upload uses the “Work” configuration. Your default uploader is not switched, and nothing is written to the config file.
Before you start
You need:
- PicGo 3.0.3 or later. Get the latest version from the download page.
- PicGo-Server enabled. It is on by default, listening on
127.0.0.1port36677. If you changed it, check Settings → Set PicGo Server. - The image host configuration you want to use, already saved in PicGo, and its name.
The examples below use the default address http://127.0.0.1:36677.
Works with all three upload modes
The /upload endpoint of PicGo-Server already supports three ways of uploading, and the new parameters work with all of them.
Upload local file paths. Send JSON with absolute file paths in list:
curl -X POST "http://127.0.0.1:36677/upload?uploader=github&configName=Work" \
  -H "Content-Type: application/json" \
  -d '{"list": ["/Users/molunerfinn/Desktop/a.png", "/Users/molunerfinn/Desktop/b.png"]}'
Upload the image on the clipboard. Leave the body empty:
curl -X POST "http://127.0.0.1:36677/upload?uploader=github&configName=Work"Upload files as a form. The field name is files, and it can carry several files. This is useful when the caller doesn’t share a file system with PicGo, for example when the file comes from a container or another program:
curl -X POST "http://127.0.0.1:36677/upload?uploader=github&configName=Work" \
  -F "files=@/Users/molunerfinn/Desktop/a.png" \
  -F "files=@/Users/molunerfinn/Desktop/b.png"
How the three parameters combine
There are three parameters: uploader is the image host’s type ID, configName is the name you gave the configuration when you saved it, and configId is the configuration’s unique ID. All three are optional:
| Parameters | What happens |
|---|---|
| None | Same as before: the current default uploader |
uploader=github | GitHub’s currently selected configuration |
uploader=github&configName=Work | The GitHub configuration named Work |
configName=Work | Work under any uploader; exactly one match |
configId=<id> | Matches by configuration ID |
In most cases, uploader + configName is the combination to use. Configuration names can’t repeat within one uploader, so this pair always points to exactly one configuration, and it’s easy to read. Name matching is case-insensitive, so configName=work also matches “Work”.
If two different uploaders have a configuration with the same name, say both GitHub and Tencent COS have a “Work”, then configName=Work alone matches two. PicGo returns an error instead of picking one for you. Add uploader and it’s resolved.
What to put in uploader
The built-in image hosts use these IDs:
| Image host | uploader |
|---|---|
| PicGo Cloud | picgo-cloud |
| GitHub | github |
| Alibaba Cloud OSS | aliyun |
| Tencent COS | tcyun |
| Qiniu | qiniu |
| Upyun | upyun |
| SM.MS | smms |
| Imgur | imgur |
Image hosts added by plugins choose their own IDs. There’s an easy way to find them: pass an uploader that doesn’t exist, and the error message lists every available uploader ID.
curl -X POST "http://127.0.0.1:36677/upload?uploader=not-exist"On my machine, with the Cloudflare R2 plugin installed, it returns:
{
  "success": false,
  "result": [],
  "items": [],
  "code": "UNKNOWN_UPLOADER",
  "message": "Uploader \"not-exist\" is not registered. Available uploaders: [aliyun, tcyun, smms, github, qiniu, imgur, upyun, picgo-cloud, cloudflare-r2]."
}
The last one, cloudflare-r2, is the ID the plugin registered. The request is rejected while the parameters are being validated, so nothing is actually uploaded. It’s safe to try.
When to use configId
Once you rename a configuration, the old configName no longer matches. If a script needs to keep working over time and shouldn’t break because of a rename, use configId, which stays the same after renaming.
The app doesn’t show configuration IDs yet. You can find them in PicGo’s config file data.json, in the _id field of each entry under uploader.<uploader ID>.configList. The config file lives at:
- Windows:
%APPDATA%\picgo\data.json - macOS:
~/Library/Application Support/picgo/data.json - Linux:
$XDG_CONFIG_HOME/picgo/data.jsonor~/.config/picgo/data.json
You can also pass configId and configName together. PicGo looks up the ID first and falls back to the name if the ID isn’t found, which is handy when you want the stability of an ID with a fallback.
Responses and errors
A successful upload returns HTTP 200. result is the array of image URLs, and items has details for each image:
{
  "success": true,
  "result": ["https://example.com/a.png"],
  "items": [
    {
      "imgUrl": "https://example.com/a.png",
      "fileName": "a.png",
      "type": "github",
      "width": 1280,
      "height": 720
    }
  ]
}
type is the uploader that was actually used, so you can confirm the image went where you asked.
When the parameters are wrong, PicGo rejects the request before uploading and returns HTTP 400. It does not quietly fall back to the default uploader. I think this matters: if a typo silently sent images to the default uploader instead, they would end up somewhere you didn’t expect, and you’d have a hard time noticing. The code field tells you what went wrong:
| code | Meaning |
|---|---|
INVALID_UPLOAD_OPTION | A parameter is empty or repeated |
UNKNOWN_UPLOADER | No image host has that uploader ID |
UPLOAD_CONFIG_NOT_FOUND | No matching configuration was found |
UPLOAD_CONFIG_AMBIGUOUS | Several matched; add uploader or use configId |
The message field explains the problem in more detail, in the same language as the PicGo interface. In scripts, branch on code and show message to people.
Encode names with spaces or non-ASCII characters
The configuration name goes into the URL, so names with spaces or non-ASCII characters need to be URL-encoded first. For a configuration named “My Blog”:
# "My Blog" encodes to My%20Blog
curl -X POST "http://127.0.0.1:36677/upload?uploader=github&configName=My%20Blog" \
  -H "Content-Type: application/json" \
  -d '{"list": ["/Users/molunerfinn/Desktop/photo.png"]}'
From code it’s simpler, since most languages’ URL helpers encode for you. In Node.js:
const url = new URL('http://127.0.0.1:36677/upload')
url.searchParams.set('uploader', 'github')
url.searchParams.set('configName', 'My Blog') // encoded automatically

const res = await fetch(url, {
  method: 'POST',
  headers: { 'Content-Type': 'application/json' },
  body: JSON.stringify({ list: ['/Users/molunerfinn/Desktop/photo.png'] })
})
const data = await res.json()
if (!data.success) {
  console.error(data.code, data.message)
}
Concurrent uploads are fine
Different requests can go to different configurations at the same time without affecting each other. One script can upload blog images to “Blog” while another tool uploads screenshots to “Work”, and their progress and results never get mixed up.
This is something the old “switch the default, then upload” approach couldn’t do: the default uploader is global, so two jobs running at once would overwrite each other’s choice. Now each request carries its own configuration, and the problem goes away.
Wrapping up
The feature itself is simple, but if you automate uploads with PicGo, it should save you a lot of switching back and forth. The full PicGo-Server reference is in the docs, and the complete release notes are on GitHub Releases.
If you run into any problems, feel free to open an issue.