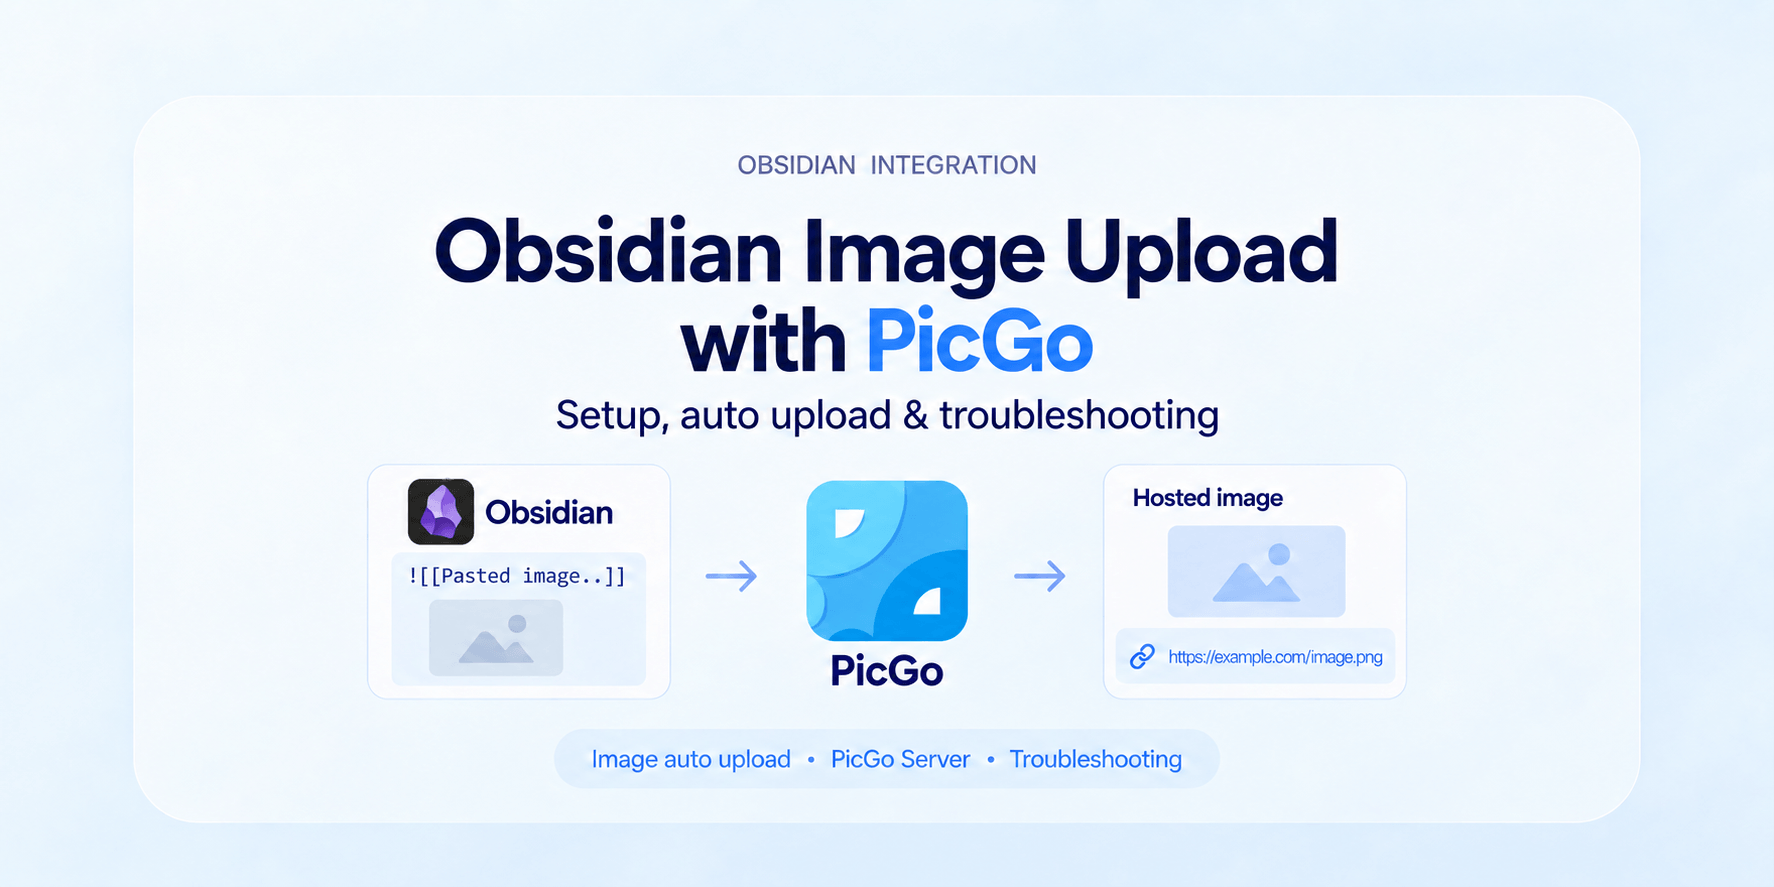
To automatically upload pasted images in Obsidian, configure PicGo with an image host, then connect the Image auto upload community plugin to PicGo’s local server. Choose PicGo(app), set the server route to http://127.0.0.1:36677/upload, and enable Auto pasted upload. Keep PicGo running: the plugin sends each pasted image to it and inserts the returned image URL into your note.
Local attachments and hosted images are different
By default, Obsidian keeps a pasted screenshot as an attachment inside your vault and inserts a local reference such as ![[Pasted image 20260922.png]]. That is private and portable with the whole vault, but the image breaks when you copy the note without its attachment folder or publish the Markdown somewhere that cannot read your disk.
With PicGo, the image is sent to the storage provider you configure and the note receives a URL instead. The note becomes easier to move or publish, but the uploaded file now follows that provider’s access, retention, and deletion rules. A localhost PicGo connection does not make an image private: many image hosts return publicly reachable URLs. Do not paste sensitive images until you understand the destination.
Prepare PicGo first
- Download PicGo and install the desktop app.
- In PicGo, configure the uploader and account you want to use. PicGo supports its built-in uploaders and additional plugins; the exact credentials depend on the provider.
- Upload one disposable image directly from PicGo and open the returned URL. This separates provider or credential problems from the Obsidian integration.
- Open PicGo’s System settings, choose Set Server, enable Enable Server, and keep the default host
127.0.0.1and port36677unless that port is already occupied.
PicGo labels the dialog Set PicGo Server and exposes Enable Server, Set Server Host, and Set Server Port. Keeping the host on 127.0.0.1 limits the service to your computer. The upload endpoint used below is http://127.0.0.1:36677/upload. The current PicGo GUI documentation covers the rest of the desktop settings.
Connect Obsidian to PicGo
The community plugin used here is Image auto upload by renmu123. Its upstream README explicitly supports PicGo, PicList, and PicGo-Core.
- In Obsidian, open Settings → Community plugins, turn on community plugins if needed, and choose Browse.
- Search for Image auto upload, then install and enable it.
- Open the plugin’s settings and leave Default uploader on PicGo(app).
- Set PicGo server upload route to
http://127.0.0.1:36677/upload. - Enable Auto pasted upload and keep PicGo running.
Now create a temporary note, copy a small screenshot, and paste it into the editor. A successful upload replaces the local image reference with a Markdown image whose target is an http:// or https:// URL. Open that URL in a browser where you are not signed in to the storage provider if the image must be publicly readable. Then delete the test image from the provider if you no longer need it.
The plugin’s current 4.1.0 manifest declares isDesktopOnly: false, but this particular setup still relies on a PicGo desktop process listening on your computer. The manifest flag does not make the PicGo app or 127.0.0.1 server available on a phone. The upstream README also says the release was not tested on macOS, so macOS users should validate a disposable image before converting existing attachments.
What happens to existing attachments
Enabling automatic paste upload only changes new images. It does not move files already stored in the vault.
For a small note, open the Command Palette and run the plugin’s Upload all images command, then check every changed link before removing local files. Back up the vault first. For a larger vault or a move between image hosts, follow the dedicated Obsidian and Markdown image migration guide, which explains backups, wikilink embeds, and bulk rewriting.
If you also write in Typora, the same PicGo configuration can be reused with a different integration path; see Upload Images in Typora with PicGo.
Troubleshooting the first upload
Obsidian still creates a local attachment
Confirm that Image auto upload is enabled, Auto pasted upload is on, and Default uploader is PicGo(app). Test with a freshly copied bitmap rather than an existing local file link. The plugin handles pasting, while existing attachments require its command or a migration workflow.
Obsidian image upload fails with a connection error
Keep PicGo open, confirm Enable Server is on, and make sure the port in PicGo matches the port in PicGo server upload route. The complete route needs the /upload suffix. If you changed either side, update the other side to the same port.
PicGo receives the request but upload fails
Try the same disposable image directly in PicGo. If that also fails, fix the selected uploader, credentials, quota, file rules, or network connection in PicGo or at the storage provider. Do not put an access token into Obsidian’s server-route field; the route is only the local PicGo address, while provider credentials stay in PicGo’s configuration.
It stopped working after a plugin update
Restart Obsidian. The plugin’s upstream README specifically asks users to restart after updating. Then confirm that the saved uploader and server route are still correct.
The link works for you but not for readers
The upload can succeed while the object remains private, requires a signed-in session, or uses an expiring URL. Check the provider’s sharing policy and test the returned URL outside your authenticated browser session. PicGo transfers the file and returns the provider’s URL; it cannot override the provider’s permissions.
Frequently Asked Questions
Q: Can I use this Obsidian image upload setup on a phone?
A: This setup uses the PicGo desktop app. The address 127.0.0.1 points to the device running Obsidian, so on a phone it does not connect to PicGo on your computer. Use this guide on desktop; a mobile workflow needs a compatible plugin and a separately configured service.
Q: Does PicGo copy my whole Obsidian vault?
A: No. This workflow sends the images you paste or explicitly choose to upload. Your notes and unrelated vault files stay local.
Q: Can I close PicGo after setup?
A: Not when using the PicGo(app) route. Obsidian calls PicGo’s local server for each upload, so the desktop app and server must be running.
Comparing uploaders for a Mac-only setup? PicGo vs uPic covers the trade-offs. If you are weighing the PicGo fork, see PicGo vs PicList.